Geschreven door Bouke Nijhuis
How to create a proper IntelliJ plugin
About a year ago I wrote a blog with the title ‘How to write a simple IntelliJ plugin’. In the previous blog I explained why I wrote the plugin and which steps I had to take. Furthermore you will also read that I set out to create a proper plugin. That is a plugin that can easily be installed by downloading it from the Jetbrains Marketplace. This turned out to be much harder than I expected, so that is why I settled for a live plugin last year. The blog ends with the suggestion that I will write a proper plugin in the future and will blog about it. Well the future is now, as this blog will be about creating this proper plugin.
The main reason to pick up this pet project again is the fact that I will be giving my talk ‘Improving your skills with the debugger’ at JavaLand. The old plugin is part of this talk, but I always try to update my talk with the latest and greatest. So I decided it was time to finally create a proper plugin.
The difference between the previous and the current title is exactly two words. The word ‘write’ became ‘create’ and ‘simple’ became ‘proper’. I talked enough about the second difference, so let’s explain the first. The meat of the previous blog was how to write (or code) a plugin. This blog will focus more on how to get this plugin in the JetBrains marketplace. So it also covers the process after writing the plugin.
Developing the plugin
In the previous blog I wrote that I tried to create a proper plugin, so my first step was to open this old project and to make sure that everything still functioned. The previous project was around a year old and to my surprise I could not get it working again. Software decay/rot is real! I spent a few hours before I decided to throw the towel. I solved this issue by starting with a clean slate. Jetbrains provides a template plugin repository (link) that you can fork. So I did this and added my code from the previous project. The code compiled again, so the problem was solved!
The first thing I noticed when using the provided template was the feature that one can start a completely new instance of IntelliJ with your plugin pre-installed (see Image 1). This was something I did not notice the previous time I tried to create a plugin. A very useful feature which lets you properly manually test your plugin before you upload it to the marketplace.

Image 1 - Run Plugin starts a new instance of the IDE with your plugin pre-installed.
The observant reader noticed the word ‘manually’ in the previous sentence. This is a fine start, but in the end we need automated tests as well. It turns out that it is pretty hard. The documentation gives a few examples, but I still spent hours and hours before I got a green unit test. In those hours I had to figure out why a part of my test context was not initialized properly. I spent a lot of time in the source code of IntelliJ to find clues. In the end it turned out to be a dependency problem. I had to specify that my plugin was dependent on the Java features of IntelliJ. For people with the same problem Image 2 shows where to add dependencies. After addressing this omission, things went pretty smooth and I had a lovely green unit test in the end.

Image 2 - This is where one adds dependencies.
With this test in place, I could finally do some refactorings and remove some unnecessary boilerplate from the template plugin project. Furthermore I found a bug while manually testing the plugin. So I updated the test (and fixed the bug) to prevent this ever happening again. As far as I was concerned the plugin was ready to share with the world.
Publishing on the marketplace
The first step in publishing the plugin is signing it with a private key. The Jetbrains marketplace will use the public key to see if everything is in order. You only have to create a private-public key pair and the template takes care of the heavy lifting after you add a few environment variables. This is a pretty standard procedure for app (or plugin) stores.
The next step is uploading the plugin to the marketplace. Again a straightforward process. You can choose between a manual upload or an upload via the Gradle scripts in the template. In the former case you can upload your .jar file in your browser. In the latter case you first need to generate a token in your Jetbrains account. The next step is to add this token as an environment variable. You can run the Gradle scripts locally or you can use the included GitHub Actions pipeline.
The last step is the most difficult one. You have to wait till the people of the Jetbrains Marketplace approve your plugin. This process takes up to two business days. Luckily I had something to do in the meantime, because the dependabot found a lot of dependencies to upgrade. In case you do not know what dependabot is: it is a GitHub bot that creates pull requests in your project whenever it finds a newer version of a dependency.
Conclusion
I am really excited to have my first plugin published on the Jetbrains Marketplace! I learned a lot in the process of creating, testing and publishing the plugin. Normally I use Maven as my go-to buildtool. So it was a nice change to be forced to use Gradle. Secondly, I have never used GitHub Actions before and it is nice to see it in action (pun intended). Thirdly, I had a reason to browse the IntelliJ codebase, which was interesting. Finally, it gave me an excuse to write a new blogpost.
The plugin can be found here:
https://plugins.jetbrains.com/plugin/23796-log-selection-with-breakpoint
Please visit it, as I've put in extra effort to create an animated gif to demonstrate what the plugin does.
The source code can be found here:
https://github.com/BoukeNijhuis/breakpoint-log-selection
Closing question
So, there is only one question left to answer: how will I continue this blog series? Good question! My intention is to add a feature to the plugin that enables you to change the hard-coded log expression. However, to do so, I need a UI where you can edit the current expression. So, that sounds like a lot of work. Till next year!
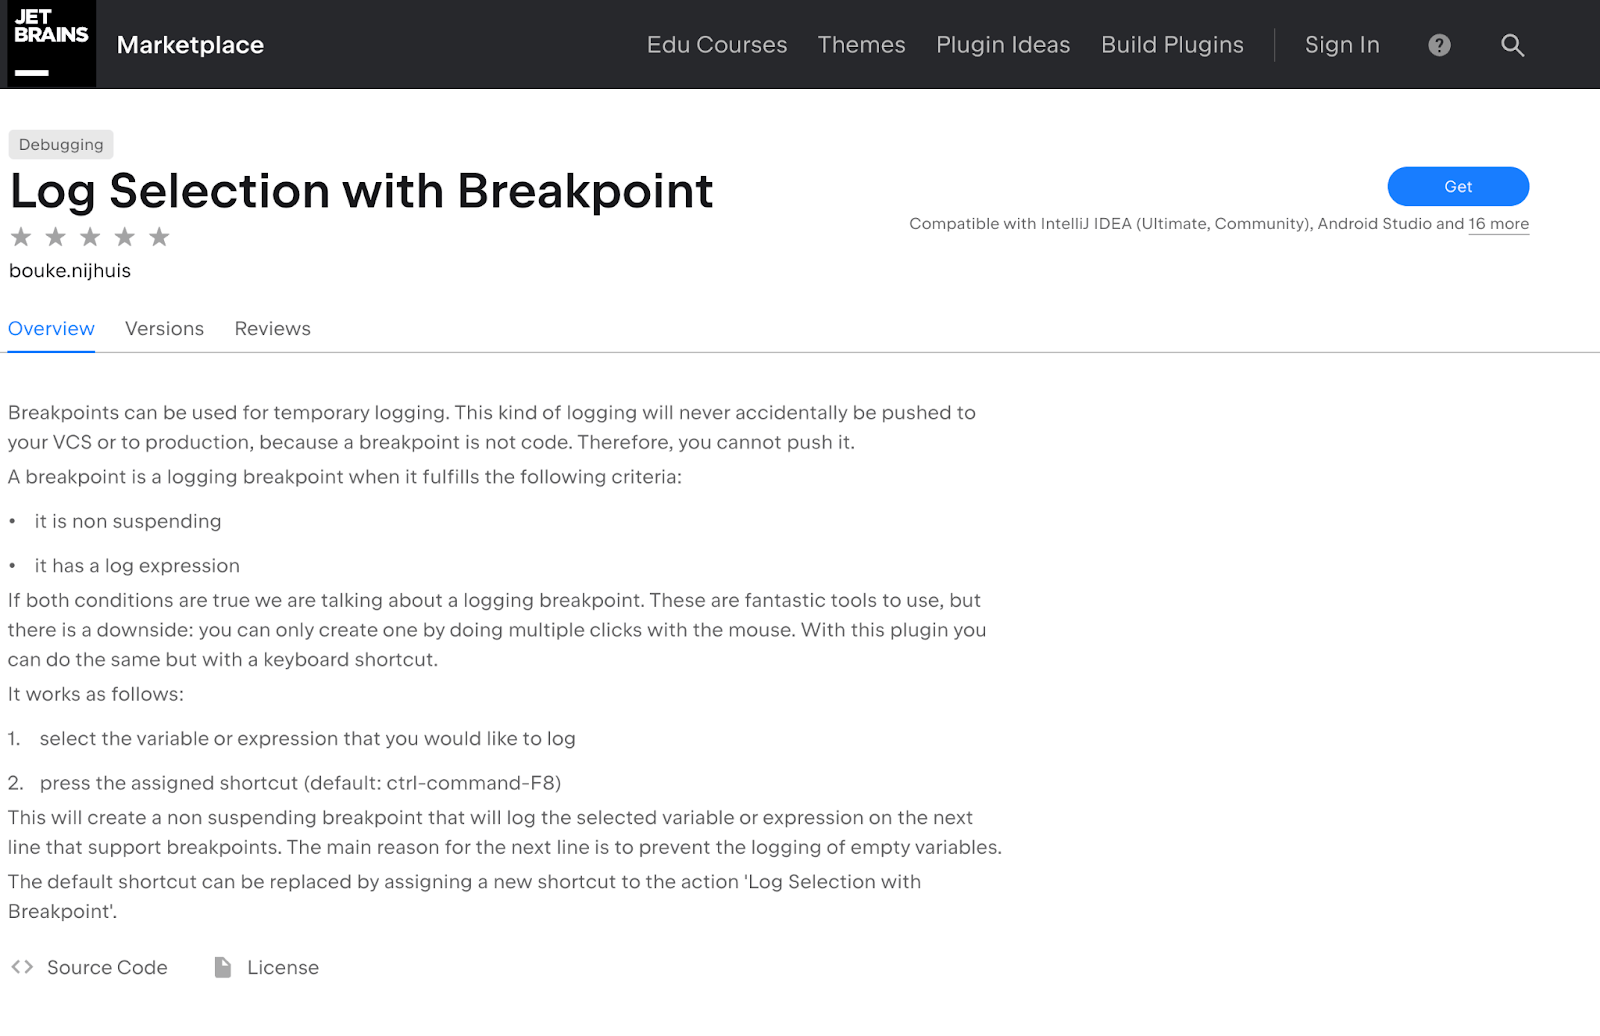
Image 3 The plugin can be found on the IntelliJ marketplace
Geschreven door CINQ